
alsancle
Feb 4, 2016
Roof Framing
Example roof framing from Bill Eaton's car.
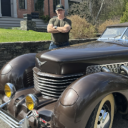
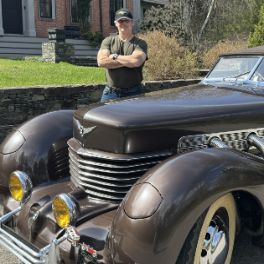
one more.

I would like to thank everyone who helped me , trying to determine how the Royale roof was constructed .
Bill's roof pictures will help other Royale owners in the future complete their roof correctly .
Mark asked me to post these.
This is the finished product of my Victoria roof . My father who is in his 90’s helped me make this .
We first determined the centre line on the car using the A and B pillars .
Then marked the centres on the metal roof opening at the front and back of the car .
We got a cardboard sheet larger than the opening and traced the metal opening on to it .
Marking the centre lines and placed the cardboard on a table to work on the layout . Easier on the back .
We scaled Bill Eaton's Coupe's pictures and made contours of the roof and made this wood frame .
I can get the whole wood assembly in the car in one piece except .
The one with the wood header with the green tape on it on the bottom of the picture .
This header is over the front window .
I will have to install the header while it is in the car .
We attached the headers and the bows with 6 inch X 1/4 inch bolts to dowel nuts .
We made our own dowel nuts to secure it together .
Since it was mortise and tenon originally .
I forgot to mention I left one bow out so I could access the top of the car .
When I go to install the roof assembly .
You can see the dowel bolts on the side of the rails and holding the bows to the side rails .
I do not know if the structure is longer that the Victoria or not . I do know the Coupe is different than the Victoria . If you look at the pictures you can see the Victoria is longer . All I had was Bill Eaton's pictures and I had to figure out the chamber and arch myself .
To join in the conversation, you must be a club member.
You’re welcome to read and like every post. Members can reply and start topics of their own.